The Home-school Coupe

The Home-school Coupe

Sunday, January 8, 2012

It may not go yet but it will stop

In addition to conducting a lesson on hydraulics and the incompressibility of a fluids we passed a major milestone today completing the entire braking system including ABS pump. We bled and pressure tested the system with no leaks on our first try.


The next item on our agenda is to fabricate a mount to relocate the handbrake to the top of the tunnel from the passenger floor where Factory Five would have you place it. We temporarily clamped the handle in place and ran the cables just to get an idea of where it will need to be. Next we need to reinstall the engine and transmission to make sure there will be no interference with the mount I am designing before I weld it up.


Thursday, December 29, 2011

Christmas came unexpectedly late this year

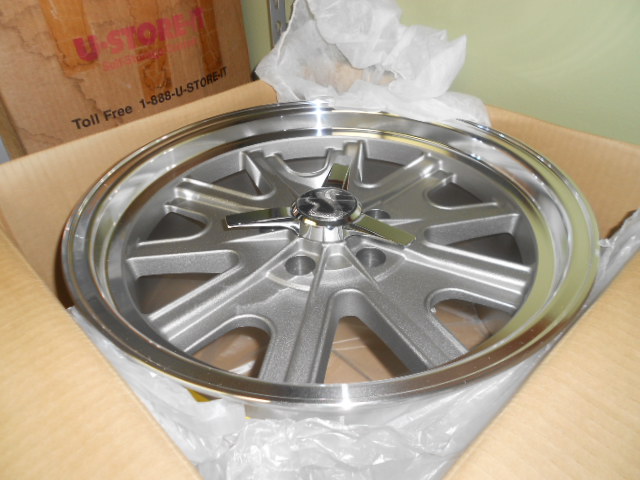
We didn't really need these at this point in the build but it was simply too good a deal to pass up. The coupe will be rolling on these 17" x 9" Halibrand replicas


Saturday, December 24, 2011

shout out of thanks

A heartfelt thanks to fellow Georgia coupe builder Ryan for the use of his awesome body buck. I am also including a pic of his finished coupe and I will say pictures don't begin to do it justice


Tuesday, December 20, 2011

Planning and laying out the brakes

Only got 60 minutes in the garage tonight but was able to mount the proportioning block and lines to the master cylinder and the ABS/Traction Control pump. More to come tomorrow as we begin bending brake lines.

Sunday, December 4, 2011

Taking the donor concept too far???

 Up until this point I have been following the manual in a step by step fashion however the next steps are to install all the rear cockpit aluminum. After test fitting these panels it become obvious that it will be much easier to install fuel and brake lines before the panels. After consulting with other builders I am now treating the manual as a list of parts that have to be installed before completion but not necessarily in the order specified.


Now on to fuel lines......Factory Five supplies you with new hard lines to bend but requires that you cut the OEM connectors off each end of the stock line and splice them onto the new ones. Not being entirely comfortable with that idea I wanted to see just what could be done with the complete OEM hard line. It fits the contours surprisingly well requiring only one 45 degree bend and one 90 degree bend to be added.

Stock fuel line contours mirror the coupe frame surprisingly well

45 degree bend added to follow frame up over axle housing

Sunday, November 27, 2011

Rosie the riveter back after 71 years

The girls have been diligently working drilling panels on the drill press and riveting them to the frame. Tedious and time consuming to be sure but they really enjoy it. The panels are affixed with 1/8 inch blind rivets and we have used a bead of 3M 5200 to further bond them to the frame. Dad being too cheap to purchase a rivet fan to assure even spacing employed a slightly different though equally effective technique. Cut the waistband out of an old pair of briefs and place a mark every 1" on one side and every 3" on the other with a sharpie pen. Now when you stretch the elastic the marks stay evenly spaced allowing you to mark your panels.

High Tech Rivet Spacing Tool

Passenger foot box and floor complete

Drivers side floor and foot box

Pedal assembly, brake booster and steering shaft


Front suspension and power steering rack complete


Wednesday, October 19, 2011

October Update

We now have the fuel tank, pedal box, brake booster and steering system installed.


Fuel Tank

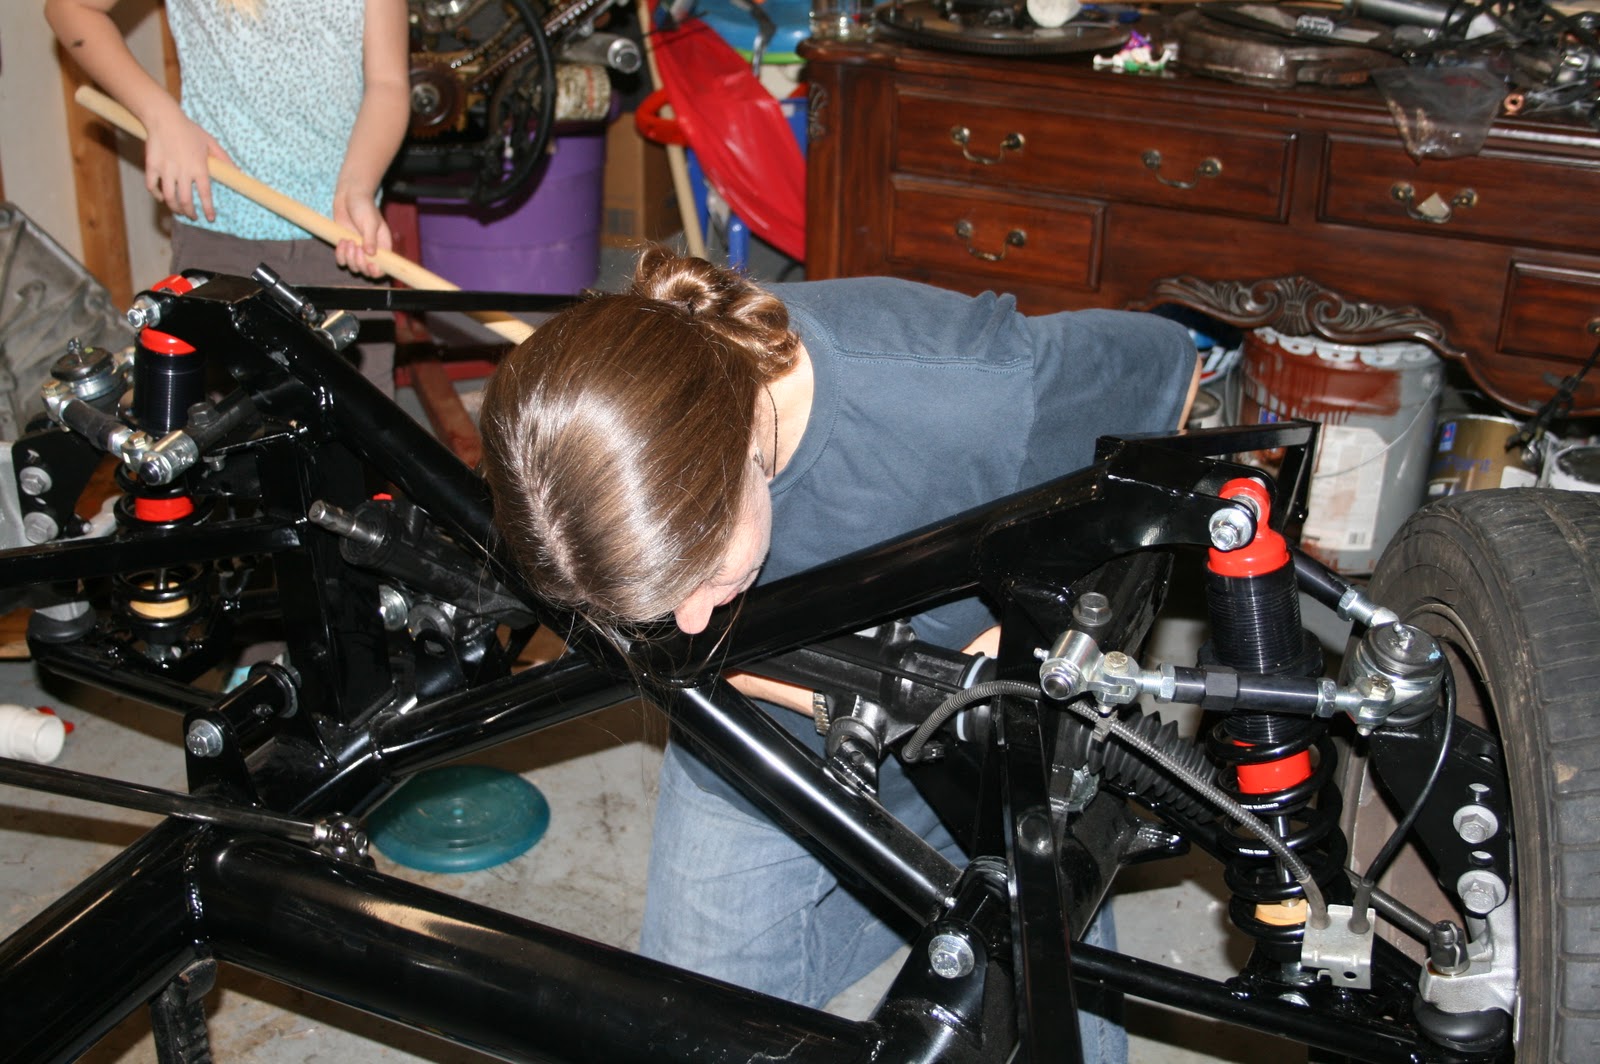
Andrea places the steering rack in the brackets.....

Ashleigh persuades it into place........

.....and Meghan installed the mounting bolts

Next we began installing the aluminum paneling however since we are using a slightly larger engine than the car was designed for we felt it prudent to set it in the frame before we began the panels so we could make modifications on the fly.
The engine on the right is the one the car was designed for.....the engine on the left is what we are using

Lowering it in

The mounts line up with the frame fine

Using the drivers side aluminum from a factory five roadster allows enough clearance for the engine however the valve cover is hard against the passenger side

a cut and bend of the inner passenger footbox is all that is required. The front panel remains unaltered

Clearance between the head and exhaust

looking up from underneath

Completed modification